
by Pintler Insurance | Feb 12, 2024 | Safety Tips, Tips
Life is the most precious gift and we love insuring yours! Pintler Insurance values every single one of our loyal clients and this month, we are sending you love and gratitude for welcoming us into your families and homes. It is our pleasure and honor to provide you protection and assurance in these times of uncertainty. Some of the most impactful services we proudly provide are:
Life Insurance Options:
• Whole Life Insurance
• Term Life Insurance
• Key Person Insurance
• Universal Life Insurance
• Final Expense Insurance
If you have questions, we would love to answer them! If you have concerns, we would  love to address them! We love insuring you – and all the things that come along with it! Get to know us better at Pintler Insurance, and let us give you the support and protection you so very much deserve!
(406) 563-5991

by Pintler Insurance | Dec 1, 2023 | Safety Tips, Tips
Strands of sparkling holiday lighting make your home feel merry and bright, especially on a gloomy December day. However, if installed incorrectly, they have the potential to damage your home or electrical system. Before you grab your ladder and boxes of lights, review our list of do’s and don’ts for hanging holiday lighting strands safely.
DO’s:
EXAMINE LIGHTS BEFORE HANGING – Return or throw away any holiday lighting sets with cracked or broken sockets, loose connections or frayed or bare wires. Replace burned-out bulbs promptly with bulbs of the same wattage. Hanging lights with damaged electrical wiring leads to a potentially flammable short.
USE VERIFIED LIGHTING AND APPROPRIATE OUTDOOR OUTLETS TO SUPPORT ELECTRICAL WIRING – Only use lights tested, rated and approved by Underwriters Laboratory (UL) or Intertek (ETL Semko) for outside use. These safety ratings should be clearly marked, both on the packaging and with labels attached to the electrical cords. Plug in all outdoor electrical decorations into a ground-fault circuit interrupter (GFCI). This safety outlet is designed to cut the power if electricity comes into contact with water, which is common outside.
CONSIDER USING LEDS OVER INCANDESCENT BULBS – LED lights are about 75 percent more efficient than conventional incandescent lights. This makes your electrical load more than seven times smaller. If you don’t have LED lights, consider the cooler-burning “mini” holiday lights instead of the traditional larger bulbs, which burn much hotter.
ASK FOR HELP – If installed incorrectly, holiday lighting can damage your home. Additionally, outdoor lights are often
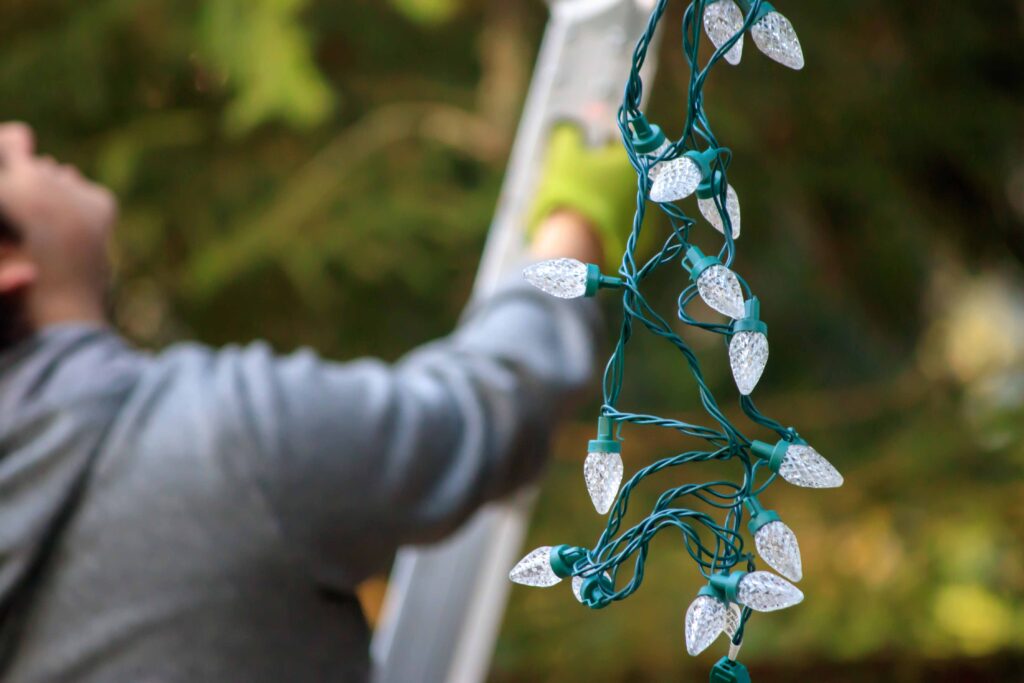
man in gray holding christmas lights climbs ladder
dangerous to install, especially if your roof has steep pitches or multiple levels. If you don’t feel comfortable, it is important to seek assistance. Find a friend to help you install your lights.
DON’Ts:
POWER TOO MANY LIGHTS WITH THE SAME OUTLET OR EXTENSION CORD – Each standard circuit breaker is able to handle about 15 amps of current. Light strings only draw a few milliamps individually. However, when you add too many strings together, it is easy to overdraw power. This has the potential to cause some serious damage to your electrical wiring. Plus, the more lights you connect end to end, the further the power must travel, leading to not-so-bright lights.
NEVER USE STAPLES, TACKS OR NAILS – THEY CAN DAMAGE YOUR ELECTRICAL WIRING – It’s fairly common for a string of holiday lights to have exposed electrical wiring in some areas. Unfortunately, if you use metal fasteners like staples, tacks or nails, it creates a circuit and generates heat that could set your home on fire. Additionally, if metal components come in contact with a live string of holiday lighting and then the current touches the metal components of your home, such as your gutters or downspouts, it creates an electrocution hazard. Always use insulated holders or plastic roof clips designed especially for hanging outside lights
CONNECT LEDS AND INCANDESCENT LIGHTS TOGETHER – Because incandescent light strings require a larger power current than LEDs, connecting them together one after the other causes the power drawn by the incandescent lights to overload — and then fry — the LED strings. It’s better to keep holiday lighting strands completely separate, running each out of a different outlet to avoid frying your electrical wiring.
Every year 150 home fires start with holiday lights and other decorative lighting. And another 260 home fires begin with Christmas trees. Follow these do’s and don’t to cut down on your chances of a home insurance claim. We want you to stay safe this holiday season. Call us or visit our website to discuss your home insurance needs. We can provide coverage from many insurance carriers so you receive the insurance for your budget and needs!
Source: https://apollohome.com/blog/christmas-light-safety/ and https://www.eversource.com/content/general/residential/safety/electric-safety/holiday-light-safety
by Pintler Insurance | Oct 18, 2023 | Safety Tips, Tips
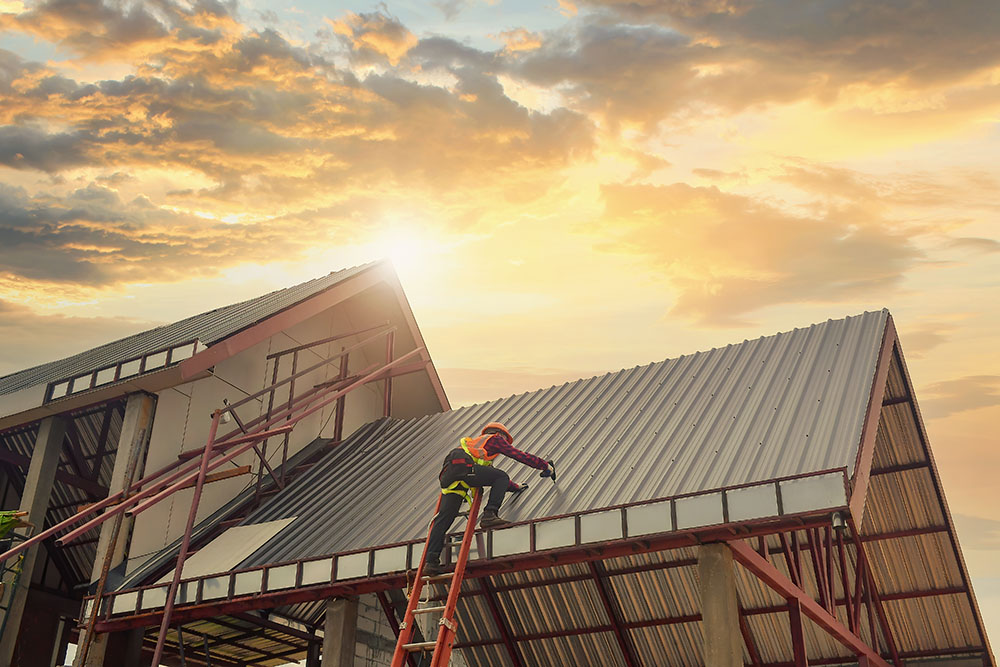
Roof replacement is a significant home improvement project that can enhance your property’s value, energy efficiency, and overall protection. Whether your current roof has reached the end of its lifespan or you’re looking to upgrade to a more durable material, understanding the roof replacement process is crucial. In this blog post, we will guide you through the steps involved in a roof replacement, from start to finish.
Initial Roof Assessment: The first step in the roof replacement process is a comprehensive assessment. A professional roofing contractor will inspect your existing roof to determine its condition and identify any underlying issues. This assessment helps in creating a plan for the replacement project.
Material Selection: Once the assessment is complete, you’ll work with your roofing contractor to choose the right roofing material for your home. Options include asphalt shingles, metal roofing, clay tiles, and more. Consider factors like durability, aesthetics, and budget when making your selection.
Permitting and Documentation: In many areas, a roof replacement project requires permits and documentation. Your roofing contractor will handle the necessary paperwork to ensure compliance with local regulations and codes.
Tear-Off or Overlay: Depending on the condition of your existing roof, you may have the option to tear off the old roofing material or overlay the new material on top. Your contractor will advise you on the best approach based on the assessment.
Preparation and Protection: Before installation begins, your contractor will prepare the site by protecting your property, landscaping, and adjacent areas. This typically involves laying down tarps and ensuring proper safety measures.
Installation: The installation process involves applying the new roofing material according to manufacturer guidelines and industry best practices. This includes laying underlayment, flashing, and the roofing material itself.
Quality Inspection: After the new roof is installed, a thorough quality inspection will be conducted to ensure that the work meets the highest standards. This inspection includes checking for proper sealing, flashing, and ventilation.
Clean-Up and Debris Removal: Once the roof replacement is complete, your contractor will clean up the job site, removing debris and ensuring your property is returned to its pre-project condition.
Final Inspection and Approval: A final inspection will be carried out, and any remaining concerns or questions will be addressed. Once you are satisfied with the work, you will approve the project’s completion.
Warranty and Maintenance: Your roofing contractor will provide you with information on your new roof’s warranty and offer guidance on ongoing maintenance to prolong its lifespan.
Understanding the roof replacement process is essential for a successful and stress-free home improvement project. By working closely with a reputable roofing contractor and following these steps, you can ensure that your new roof provides long-lasting protection and enhances the beauty and value of your home.
by Pintler Insurance | Oct 11, 2023 | Safety Tips, Tips
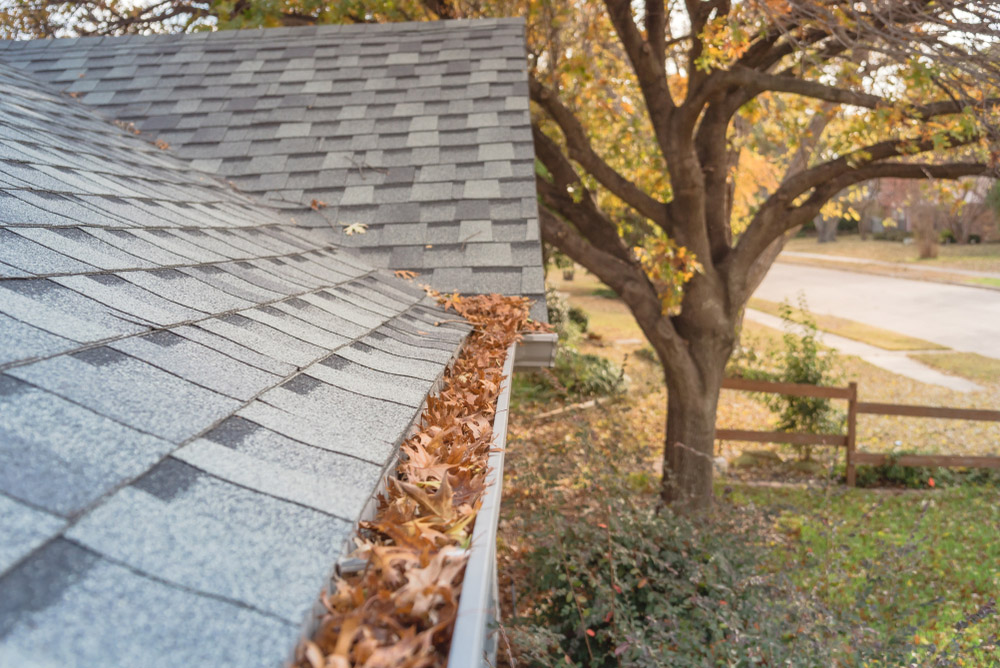
Clogged gutters and downspouts are a common headache for homeowners. They can lead to various problems, including water damage to your home’s foundation, roof, and walls. Preventing clogs is essential to maintain the functionality and longevity of your gutter system. In this blog post, we’ll explore effective ways to prevent clogged gutters and downspouts without relying on numbers.
Regular Gutter Cleaning: Perhaps the most crucial step in preventing clogs is regular gutter cleaning. Remove leaves, debris, and dirt from your gutters and downspouts at least twice a year, ideally in the spring and fall. This simple maintenance task can go a long way in keeping your gutter system clear.
Gutter Guards: Consider installing gutter guards or leaf screens. These protective devices cover your gutters, allowing water to flow in while keeping leaves and debris out. Gutter guards come in various designs, so choose one that suits your gutter system and budget.
Trim Overhanging Branches: Overhanging branches can drop leaves and twigs directly into your gutters. Regularly trim back branches that extend over your roof to minimize the amount of debris that enters your gutters.
Regular Roof Maintenance: Maintaining your roof can indirectly help prevent gutter clogs. Keep your roof clean and free of moss, algae, and debris, as these can wash into your gutters during rainfall.
Downspout Extensions: Ensure that your downspouts extend at least a few feet away from your home’s foundation. This directs rainwater away from the foundation and reduces the risk of soil erosion and basement flooding.
Properly Sloped Gutters: Ensure that your gutters have the right slope toward the downspouts. This allows water to flow freely and helps prevent standing water in your gutters, which can lead to clogs.
Regular Inspections: Periodically inspect your gutters and downspouts for signs of damage or blockages. Look for loose or sagging gutters, misaligned downspouts, and any visible clogs.
Use a Garden Hose: If you suspect a clog, use a garden hose to flush water through your downspouts. This can help dislodge minor blockages and clear the path for proper water drainage.
Leaf Blowers or Vacuum Attachments: Some homeowners use leaf blowers or vacuum attachments designed for gutter cleaning. These tools can make the cleaning process more efficient, but use them carefully to avoid damaging your gutter system.
Consider Gutter Heaters: In cold climates, ice dams can form in gutters, leading to blockages. Consider installing gutter heaters or heating cables to prevent ice buildup during the winter months.
Professional Maintenance: If you’re unsure about gutter maintenance or encounter persistent clogs, consider hiring a professional gutter cleaning service. They have the expertise and equipment to ensure your gutters remain clear and functional.
Preventing clogged gutters and downspouts is essential for the overall health of your home. Regular maintenance, proper installation, and protective measures like gutter guards can go a long way in ensuring that your gutter system efficiently directs rainwater away from your home. By following these tips, you can reduce the risk of clogs and the potential damage they can cause.
by Pintler Insurance | Sep 18, 2023 | Safety Tips
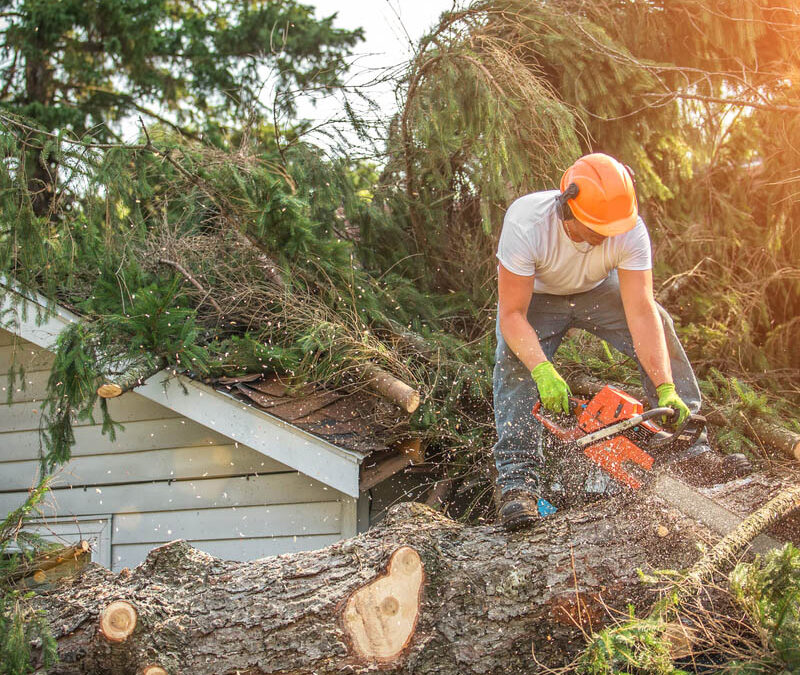
According to the Center for Disease Control (CDC), there are about 36,000 injuries caused by chainsaws every year. Approximately 40 percent of all chainsaw accidents occur to the legs and well over 35 percent occur to the left hand and wrist. The average chainsaw injury requires 110 stitches and medical costs for chainsaw injuries amount to at least $350 million per year. The two leading causes for chainsaw injuries are lack of training and experience with using a chainsaw, and not wearing the proper PPE (Personal Protective Equipment.)
Risk of these injuries can be reduced by practicing proper chainsaw safety and operation, and wearing the appropriate personal protective equipment (PPE). As your insurance agent, we strongly urge you to read and follow the following safety prevention tips to keep you, friends, and family safe this summer.
Before You Start the Chainsaw
Proper chainsaw operation starts before even turning on the saw. Inspect the area for anything that might put your safety at risk. Some examples include:
- Anything above the work site that could dislodge into the work site
- An escape route in case you need to reach safety quickly
- Debris (rocks, large branches, tree stumps, or nails)
- Electric power lines
If you notice electric power lines near the worksite, you should always remain at least ten feet away from them. If you can’t, then you should contact the utility company to de-energize the lines.
It is important to ensure that all chainsaw parts are in good working condition before attempting to power on the saw. Chainsaws should have the following parts: chain catcher, anti-vibration handle system, chain brake, hand guard, muffler, fuel container, and throttle. If you find a chainsaw is damaged or that any of these parts are missing, do NOT use the chainsaw until it can be repaired. Fuel and oil levels should also be checked before starting the chainsaw. Refueling should take place at least ten feet away from any open flame or other source of ignition.
Starting the Chainsaw
Never drop start a chainsaw by holding the starting cord with one hand and pushing the saw down with the other. Instead, place the saw on the ground with the chain brake engaged and pull the start cord toward you.
Proper Chainsaw Personal Protection Equipment
The following PPE should be used during chainsaw operation:
- Safety glasses with side shields, safety goggles, and face shields
- Leather gloves with ballistic nylon reinforcement on the back
- Heavy, well-fitted, safety work boots
- Hard hat, highly visible in color
- Hearing protection
- Trousers or chaps with sewn-in ballistic nylon pads. Trousers (pants) that protect to the belt line offer more protection than those that stop at the upper thigh. Close fitting clothing without cuffs, made of close-woven fabrics.
- Fall protection
Safety and Operation Techniques
In order to reduce the risk of injury, always practice proper chainsaw safety and operation techniques. These include:
- Making sure the fall area is free of debris or hazards
- Avoiding cutting an object so that it falls into nearby objects – This can cause both objects to fall in unexpected and possibly dangerous ways.
- Keeping the tip guard in place
- Gripping the handle with both hands
- Avoiding, whenever possible, cutting an object under tension
- Being aware of kick-back
Additionally, all other bystanders should remain at least 150 feet from anyone cutting down a tree and at least 30 feet from anyone removing limbs from a tree.
To avoid losing balance while using a chainsaw or losing control of the saw, never use a saw in a way that causes you to be off-center, such as reaching out too far or standing on an uneven surface. To maintain control of the chainsaw, all cuts should be below the waist and the chainsaw should never be raised above head level. If you are carrying the chainsaw more than 50 feet or through difficult terrain such as slippery surfaces or thick underbrush, engage the chain brake or shut off the chainsaw.
Watch these chainsaw safety and operating tips from Remington Power Tools.
Even with proper training, operating a chainsaw is inherently dangerous. Never attempt to do jobs beyond your abilities. High-risk chainsaw operations include operating a chainsaw above ground level, such as in a tree or on a ladder, working on a steep slope or uneven ground, cutting trees known to split, working in inclement weather, such as heavy rain or extreme cold, and working for long periods of time with no breaks.
Chainsaw safety is a priority for every homeowner. You may not want to spend the extra few minutes checking the function of the saw and inspecting the worksite. However, doing so can help prevent risks, including those related to injury to you or your family.
We are your local independent insurance agent. We can provide coverage from many insurance carriers so you receive the insurance for your budget and needs! You can reach us by phone or online.
Source: https://safetyskills.com/chainsaw-safety-operation/ and https://www.ccohs.ca/oshanswers/safety_haz/chainsaws/ppe.html and https://incident-prevention.com/ip-articles/the-risks-and-rules-of-chainsaw-operation
